Katrina's Beauty Shop

Katrina's Beauty Shop
Click picture for where to buy

Tuesday, 12 April 2016

Back to Basics

Lately I have been feeling as though my face has been weighed down by makeup. I have always been a relatively natural woman and that has always felt best to me. After experimenting with different foundations I am back to using my staple Maybelline Dream Fresh BB.

I have tried a few other BB creams and none compare to this one! It offers 8 benefits plus light coverage. My face never feels like its caked on with makeup and it goes on easily. The benefits are:
  1. SPF 30
  2. Blurs imperfections
  3. Gives a natural glow
  4. Smooths skin
  5. Compliments skin tone
  6. Hydrates
  7. Fresh feeling
  8. Oil-free
For my under eye area, I started using a product I had used previously, Covergirl + Olay CC Eye Rehab in 310 fair. It conceals dark circles while brightening the eye area, evens skin tone, reduces the color of discolorations, fine lines and wrinkles. The serum hydrates the skin over time. It has worked better at covering my dark circles than other products I have tried and it has that Olay scent I love.

For spot concealing I like to use Maybelline Instant Age Rewind Eraser in light. I like that the applicator is a sponge, making it easy to dab a little on an imperfection while brightening the area. Sometimes I use this as a highlighter along my nose and middle of my forehead as well. Of course, the original purpose of this product is for dark circles and it works pretty well for that as well.

In this picture, I am using Sephora Radiant Luminizing Drops for a highlight along my cheekbones in the color Morning Light. I am enjoying this product so far, it gives a nice, luminous look to my face. The price was great($19) and will last a long time as you only need a little bit of product. I like to use my makeup sponge to apply it, ensuring there isn't too much product on my face.

On my eyes I used Rimmel Scandaleyes Eyeshadow Stick in 001 Witness White in the corners and under my brow. The brows are done in my usual Ofra eyebrow pencil and mascara is Smashbox Full Exposure.


The lipstick is Rimmel Moisture Renew Lipstick in 640 Summer Angel.

Some choose to wear no makeup, some a little, some a lot. It shouldn't matter to anyone what you choose to look like, it is your face after all. So keep doing what makes you happy and face the world with confidence!

Monday, 11 April 2016

Health Update

Its been awhile since I have posted, life has been feeling very busy. I feel like I have a million things I want to accomplish and not enough time to do them. This has been getting me stressed. I have even considered quitting the blog but I have had some people say they would like to continue reading it so I am going to continue!

This post is an update on my health pursuits as of late. I had given PGX a try and dropped pounds quickly the first few days. After that I saw no results in weight loss; the only thing it helped was my digestive system but that may be due to drinking more water as well. It did not make me feel more full nor did it suppress any cravings I had.

I also tried the maca energy supplement and did not see much results with that either. I am considering continuing it however, since it has so many beneficial vitamins and minerals in it. I have also read that it takes awhile to see results.

Today, my family and I began the 17 Day Diet again. We have attempted this diet a couple of times in the past and given up. The first time we tried it, we all had great results with my dad and I losing around 20 pounds! If you are unfamiliar with the program it was developed by Doctor Oz and is available in a book format. It is basically eating really healthy, natural foods. The meals consist of green veggies, fruits, lean meats (chicken and fish), egg whites and lots of green tea (3 cups a day).  After the first 17 days, you incorporate other foods into your diet for cycle 2 then again with cycle 3. There are three cycles in total. Day one has been a bit of a struggle, I am not feeling very motivated. I want to lose the weight but I am depressed over giving up sweets and carbs. I know this feeling will pass and my body will adjust while starting to feel more energized and happy. I think that when you eat a lot of the wrong foods, your taste buds are altered so that when you have a food in its natural state, it tastes bland to you. Once the taste buds adjust, you start tasting foods the way they were meant to be. You even start craving and looking forward to the healthy foods every day. For example, today I am excited to eat my yogurt because it is my bit of sweet for the day. I highly recommend this diet for people who like to have meal plans set out for them. Its easy to follow and you will find in no time that you know which foods to eat and which to avoid.

I am optimistic that this diet will be successful this time around with the support and motivation of my family. Keep checking in to see posts about our progress! Wish us luck!

Friday, 1 April 2016

Eyebrows Are Important


Eyebrows have the power to make or break your face. I have seen a lot of women with overly penciled in eyebrows and ones with eyebrows that could be drastically improved with pencil. This photo of me shows the difference of pencil(left) vs no pencil(right). I have a few spots in my eyebrows that are not very thick, especially closer to the nose. I have been filling in my eyebrows for a couple of years now and am very happy with the results it gives me.

How to fill in your brows: The eyebrow pencil I am using currently is Ofra Universal eyebrow Pencil (Ipsy score!) Perhaps the most important bit of advice I can give you is to not press to heavily with the pencil. You want to lightly fill in any gaps you may have while shaping. If you press heavily, it will just look bad. Also be aware of where your eyebrow should start and end as well as the overall shape. A good way to figure this out is to hold the eyebrow pencil diagonally from the tip of your nose upwards. Where the pencil meets your eyebrow area is where the eyebrow should begin. Whether you want a thick or thin brow is up to you, play around with it a bit and see what you like! After I have filled in my brows I like to take an eyebrow brush and lightly brush the brows. I find that this softens the look a little and makes sure everything is in place. It is also a good idea to have a highlighter under the brow to further define the shape and give the brow a lift. Any highlight works, I most often use the highlight in NYC Individual Eyes for blue eyes palette. Keep in mind your overall eye makeup, a white highlight may not look as nice as a champagne one.

Here's a tutorial from one of my favorite Youtube  makeup artists Linda Hallberg

Saturday, 19 March 2016

Gel Nail Tutorial

The following is a tutorial on how I get professional looking gel nails at home! This process takes about an hour, so make sure you will not be interrupted during that time.

You will need the following products:
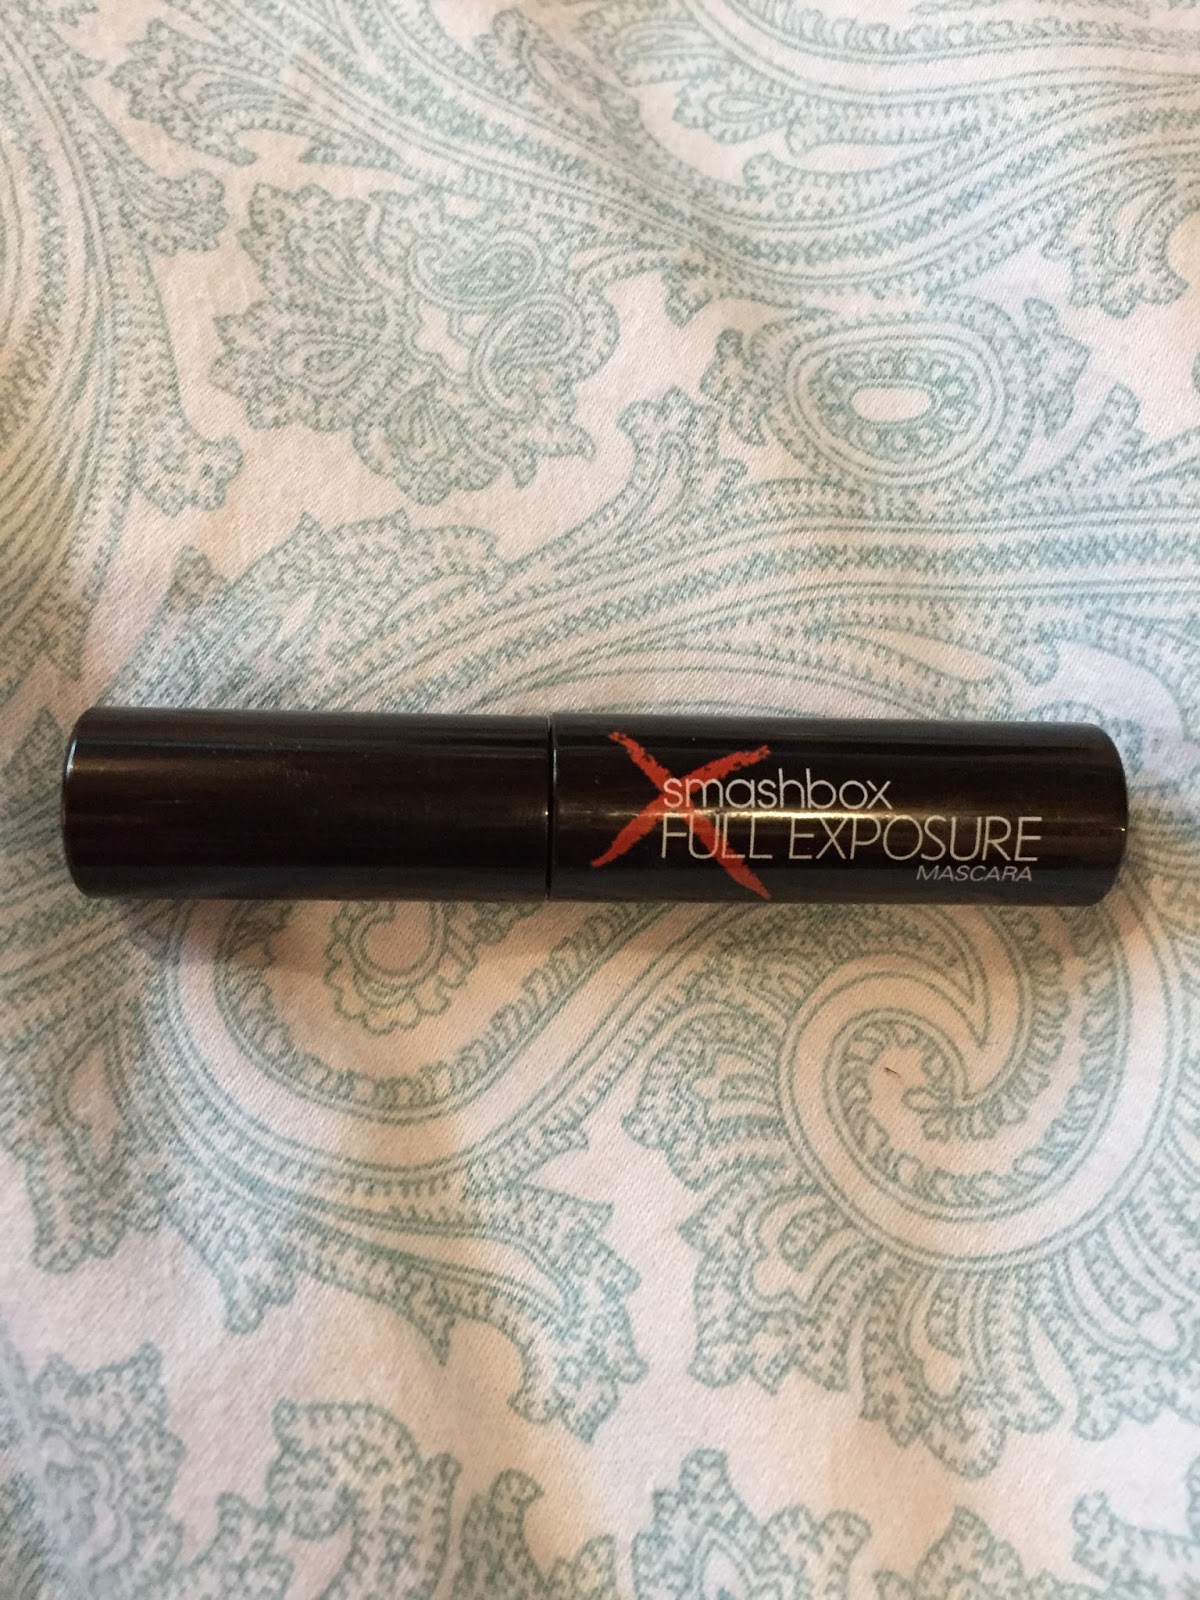
You may use the polishes that come with the kit, I just have been using these because of great reviews and I like how all of these work together.

Step One:
Prep nails by pushing cuticles back and trimming, file nails into desired shape then rough up the surface of your nails with the rough side of a nail file. Try not to rough them up too much as this thins the nails.
Your nails should look something like this once done. Pour some of the rubbing alcohol onto your lint-free wipe (I cut up little squares of paper towel) and wipe your nails thoroughly.

Step Two:
I like to work on one hand at a time as this ensures that the nails will be less likely to get lint, etc. on them which can cause the manicure to lift. Apply a thin coat of the Gelish Foundation to your nails, be careful to not get any on your skin or cuticles as this will cause lifting of the polish later on. This step is crucial in a long lasting manicure and was the hardest for me to master. If you do get polish onto your nails you can use a manicure brush to clean it up. Once all nails are coated, dip them gently into the Flex Powder one finger at a time. Be careful doing this as shoving them in too hard can push the polish back, causing a ridge in the final product (see picture below).
Once nails have all been dipped in the flex powder, take a lint free cloth and dust off the nails. Make sure you get into the cuticles. Once dusted off, the nails should look like the above photo.
 
Step Three:
Place the nails into the UV lamp and press the top button once. Repeat this three times; I have found that this is the proper amount of time needed for long lasting results.
 
Step Four:
Apply a thin coat of OPI Gel Color in whatever color you have chosen. I love the color Bubble Bath because it is a nice natural looking color that goes with everything. I used to use the original OPI polish in this color all the time.
 
Place nails into the UV lamp for three treatments. Apply a second coat of the color and repeat the UV lamp process.
 
Step Five:

Apply a thin coat of OPI Gel Color top coat and place under the lamp for three treatments. Once nails have been treated, wipe nails thoroughly with the rubbing alcohol. This step will remove any excess gummy feeling on the nails.
 
Gel manicure is complete, do the same steps on your other hand!
 
If you don't get it right the first time or your nails start peeling soon after, don't give up. It took me a few tries to get it down perfectly and even now once in awhile they don't last like I would like them too. Depending on what your hands go through, this manicure can last 4 days to two weeks. I use my hands a lot in my profession and am constantly washing/sanitizing them so sometimes the manicure doesn't last that long. For the manicure I did today, I capped the nails (put the polish over the edge of the nail) so I am hoping that will elongate the amount of time it lasts. I had not previously done this as my nails were too short.
 
I hope you enjoyed this tutorial and try it out for yourself! I realize it is a bit pricey but doing your own nails saves you money. I have done many manicures without having to buy more products.
 
As always, click on Katrina's Beauty Shop at the top of my blog for where to purchase the mentioned products.


Thursday, 17 March 2016

Look of the day - work edition!

Tried out a couple of new products when doing my makeup for work so figured I would do a review. I used many of the same products and application as in my previous look of the day post. Primer: Make Up For Ever green primer. Concealer: Rimmel Wake Me Up. Foundation: Make Up For Ever HD. Mascara: Smashbox Full Exposure.

The new products I tried are the lipgloss, eyeshadow and highlighter. The lipgloss is by Quo and it came in a gift set so I don't really have a color to name. The eyeshadow is the Vera Mona eyeshadow I received in my Ipsy bag this month. I love the color, its light and has just enough shimmer for an everyday look. The highlighter is Pixie by Petra, also from my Ipsy bag. I found that it gives me a nice subtle glow without looking too heavy.

Edit to the last post: my eyebrow pencil is not by NYC, its OFRA Cosmetics Universal Eyebrow Pencil. I tried the NYC one out again today and realized how terrible it is compared to the OFRA one. The one I use now goes on smoothly and the line isn't too harsh.

Overall, I loved the how fresh this look is and will be wearing it often this spring.

Tuesday, 15 March 2016

Look of the day!

Today I felt like going all out with my makeup so I did! If you are interested in any of the products I'm wearing, see my reviews below and check out my beauty shop at the top of this blog for where to buy!
I started off with Makeup Forever Step 1: Redness Correcting Primer. This primer is green, so it hides redness which I tend to have a lot of since my skin is so pale and sensitive. I love the smell of this product and it applies smoothly.
I then applied Make Up For Ever Ultra HD foundation in the shade Pink Porcelain. I applied it with a kabuki brush but I have also been using my beauty blender often lately. The beauty blender is best for this foundation because it can be a little heavy for me. With the kabuki brush I like to pump two squirts onto the back of my hand then dab it in various areas of my face. I then stipple the makeup all over and finally brush it in circular motions. This foundation is a bit pricey but it shows up flawlessly in photos. I have also heard its the foundation Kim Kardashian uses if you're into that twit. 
The undereye concealer I used is Rimmel Wake Me Up in Ivory. As stated in a previous post, this is a new product for me; so far its worked moderately well. Concealer should be applied in an upside down triangle under the eye to give a properly balanced look. 
My contour is thanks to ModelCo Highlighting Trio from a previous Ipsy bag. This product is a cream base which was new to me when I tried it. I like that I can clearly map out where I want to contour before blending. For blending I used Luxie Beauty Large Angled Face Brush. I use this brush for powder contouring as well.
My eyeshadow is from NYX through Ipsy in three colors. The first color was used on my lid and the second was used on my crease line as well as under my eye. I have been using this shadow a lot; it is a nice neutral shade suitable for every day wear. 
The waterline is lined with Coastal Scents Xpress Line Cosmetic Pencil then followed with the black from the NYX shadow on top. Dabbing black shadow on top of liner will help it stay in place on the waterline. 
The above are brushes I use on the eye area. The first is Real Techniques Fine Liner Brush which I use with gel liner for my upper eye. The second is the  Crown Brush Infinity Shadow/Crease Duet Brush. I like to use the bigger side for my lid; sometimes I use the smaller side for the crease but I don't find it blends super well. For the crease I prefer to use the Beau Gachis Paris Smudge Brush. When applying the crease color, its important to blend a lot in a wind shield wiper motion. I like to make a triangle shape in my outer corner with the crease shade. 
My eyebrows are filled in with a NYC eyebrow pencil then lightly brushed with the Crown Brush Brow Duo Brush. When filling in the eyebrows, I think its important to not fill them in too fully. I like to keep my brows looking as natural as possible. 
The mascara I am currently loving is Smashbox Full Exposure Mascara. The brush is great because the one end is larger. 
The lips are done in NYX Mauve liner and Revlon Super Lustrous Lipstick in Honey Bare.

When I really want my makeup to last, I finish up with Urban Decay All Nighter Makeup Setting Spray. It helps your makeup last through almost anything.


March Ipsy Glam Bag!!


My March Ipsy bag came in the mail today and im pretty excited about all the products received! First of all, this bag is totally cute; first one that I have really loved.

Here's a swatch of the Vera Mona eyeshadow. Its a really nice pink color with some shimmer in it. This color is a great choice for spring!
I know its hard to see but this is a swatch of the Pixi by Petra highlighter/blush duo. I am really excited to try the highlighter as it looks like it will give a nice, subtle glow to my skin. I am not too sure how the blush will show up as it barely shows on my hand but I am not prone to wear blush anyways. I have tried other Pixi products and they have all been great so far.
This is the liquid lipstick by NYX in Kitten Heels. The formula looks great and I am already a huge fan of NYX but I don't think I will be wearing this shade very often. I am more of a natural lipstick color kind of gal.

The other products I received are a body oil and a nail buffering stick. Its funny because I almost purchased a buffer today but settled for just a file. I have never used body oil before but I have heard great things about it and products with rose in them. I will post more on this products if I find myself really loving them.

Interested in signing up for Ipsy? Here's the link: https://www.ipsy.com/new?refer=286ms